Creando moda sostenible con retazos de jeans. Diseño y confeccion. Tutorial (Esp-Eng)

Buen dia gente linda y creativa de @diyhub!
Feliz y contenta por estar de vuelta ante esta gran familia compartiendo mis últimos proyectos textiles. Lluvia de bendiciones y puras cosas buenas.
El dia de hoy os traigo un lindo tutorial del diseño y confeccion de una falda estilo corte princesa echo con retazos de jeans viejos, creando asi moda sostenible, aprovechando al maximo cada pedacito de tela.
Acompañame en esta linda creación.
Good morning, beautiful and creative people of @diyhub!
I'm so happy to be back with this amazing family, sharing my latest textile projects. Wishing you all blessings and good things. Today I'm bringing you a lovely tutorial on designing and making a princess-style skirt from scraps of old jeans, creating sustainable fashion and making the most of every bit of fabric. Join me in this beautiful creation.

Siempre disfruto al maximo en este tipo de proyectos, pues veo muchas posibilidades en prendas viejas y pasadas de moda. Para sacar la base o patrón, tome un vestido de mi hija con un corte similar y lo dividi por la mitad de la mitad, para obtener asi la cantidad de piezas que necesitaba.
Su composición resulto ser bien entretenida y un poco compleja en comparación a otros proyectos que habia ejecutado. Pues debian quedar bien encajados para no desalinear y malformar la silueta.
Ya lista cada pieza, pues solo faltaba hacer la magia y crear.
I always thoroughly enjoy these kinds of projects because I see so much potential in old, outdated clothes. To create the pattern, I took one of my daughter's dresses with a similar cut and cut it in half, thus obtaining the number of pieces I needed.
Putting it together turned out to be quite fun and a bit more complex than other projects I've done. The pieces had to fit together perfectly to avoid misaligning or distorting the silhouette.
Once each piece was ready, all that was left was to work my magic and create.


Aquí les dejo un minitutorial, con un pequeño collage de fotos, mostrando el paso a paso del mismo y los materiales que utilice para recrear esta prenda. Para los amantes del reto y la costura, espero que les sirva y ayude en sus creaciones futuras.
Me encantaría saber cual es tu opinión con repecto al modelo y tejido seleccionado.
Here's a mini-tutorial, with a small photo collage, showing the step-by-step process and the materials I used to recreate this garment. For those who love a challenge and sewing, I hope it's helpful and inspires your future creations.
I'd love to hear your opinion on the pattern and fabric I chose.
Materiales / Materials
Fabric scraps
Scissors
Thread and needle
Measuring tape
Pins
Sewing machine
Elastic
Procedimiento:
1er paso:
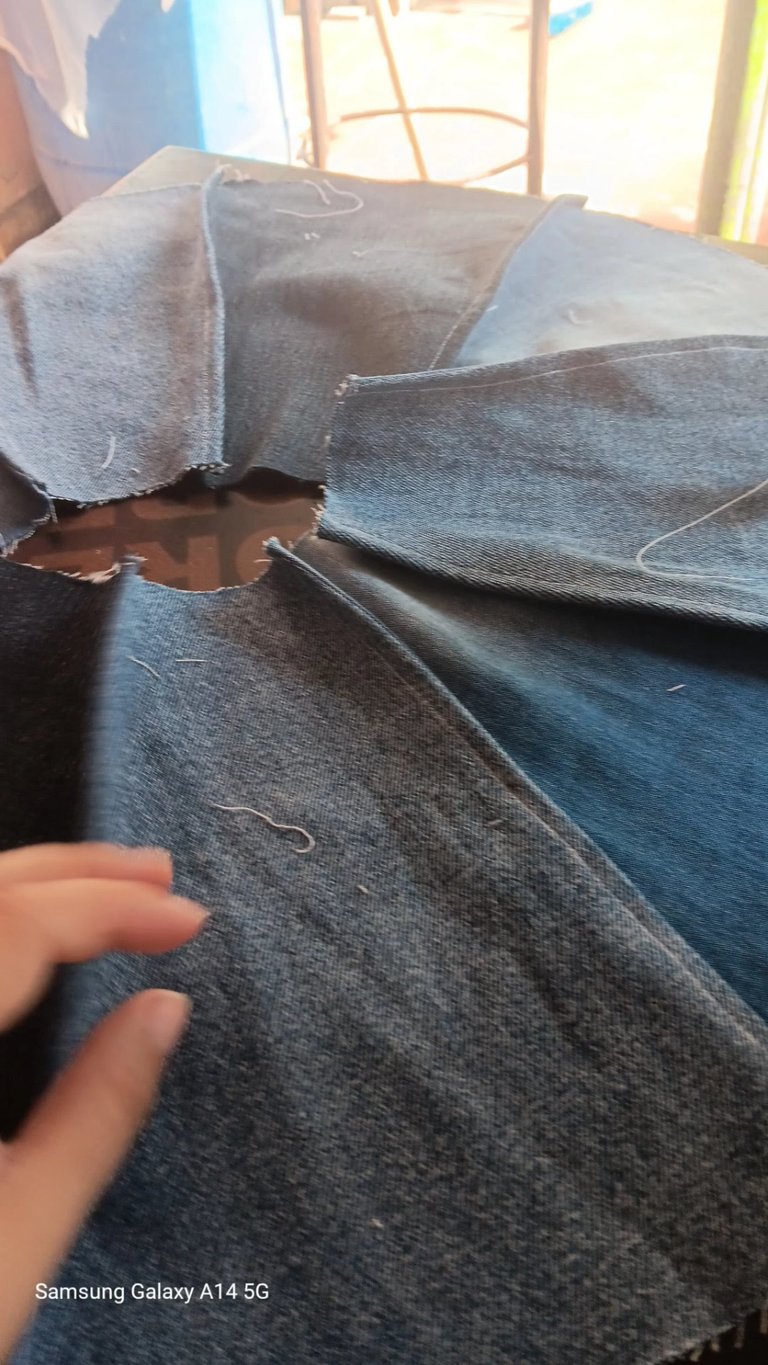
Comence con este hermoso proyecto uniendo cada pieza, colocandolas de manera tal que quedaran una de cada tipo de tela en secuencia.
Pase costura en cada empate realizando una puntada francesa, quedando los márgenes de costura ocultos.
Para el fajin realice el mismo procedimiento uniendo varias tonalidades en secuencia.
Procedure:
1st step:
I began this beautiful project by joining each piece, arranging them so that there was one of each type of fabric in sequence.
I sewed a French stitch along each seam, concealing the seam allowances.
For the sash, perform the same procedure, combining several tones in sequence.


2do paso:
Antes de añadir el fajin le apliqué una costura decorativa en rosado para que combinara con la blusa del conjunto, haciendola a medio cm de distancia a cada union o empate entre cada pieza. Luego con ayuda de alfileres sujete el fajin a la falda y pase costura por todo el contorno.
2nd step:
Before adding the sash, I applied a decorative pink stitch to match the blouse of the set, placing it half a centimeter away from each seam or join between each piece. Then, using pins, I attached the sash to the skirt and stitched all around the edge.


3er paso:
Por ultimo le añadi dos orejitas con la misma tela de la blusa para sujetar un lazo o moño en la falda, dandole una mejor estética. Para el lazo tome un cuadrado doblado por la mitad y pase costura por todo el contorno dejando una pequeña abertura para voltearlo al derecho después.
Step 3:
Finally, I added two little ears made from the same fabric as the blouse to attach a ribbon or bow to the skirt, giving it a neater look. For the bow, I took a square folded in half and sewed all around the edge, leaving a small opening to turn it right side out later.


✨✨✨✨❤️❤️❤️✨✨✨✨
Resultado/Result
✨✨✨✨❤️❤️❤️✨✨✨✨


Espero que les alla gustado y les sirva de alguna ayuda este pequeño minitutorial. Pido disculpas si no se entiende bien alguna informacion, pues no soy muy buena explicando estos procedimientos. Gracias de antemano, espero y os guste mi contenido, y agradeceria que dejaran sus lindos comentarios y se aventuraran conmigo en este proyecto. Bendiciones y lindo dia.
I hope you liked it and I hope this little mini tutorial will be of some help to you. I apologize if some information is not well understood, because I am not very good at explaining these procedures. Thank you in advance, I hope you like my content, and I would appreciate if you could leave your nice comments and venture with me in this project. Blessings and have a nice day.

El texto o resumen es totalmente de mi autoria.
The text or summary is entirely my own.
muy lindo, excelente diseño
very cute, excellent design
Your work is beautiful; you gave this skirt a lovely design. Thank you for sharing your work with our community.
selected by @dayadam
Bonito trabajo amor, excelente diseño para tu niña !!.
Te ha quedado hermoso me encanta
Congratulations @karoly! You have completed the following achievement on the Hive blockchain And have been rewarded with New badge(s)
Your next target is to reach 95000 upvotes.
You can view your badges on your board and compare yourself to others in the Ranking
If you no longer want to receive notifications, reply to this comment with the word
STOPCongratulations @karoly! You received a personal badge!
You can view your badges on your board and compare yourself to others in the Ranking
Check out our last posts: